Provide students with course resources that have files, links or videos. Optionally use topics and color-coding to organize your resources.
Navigate to the Resources tab of the course you want to add a resource to.
Click the Add resource button at the bottom right of the screen.
Enter a name for your resource, and choose a topic or create a new one.
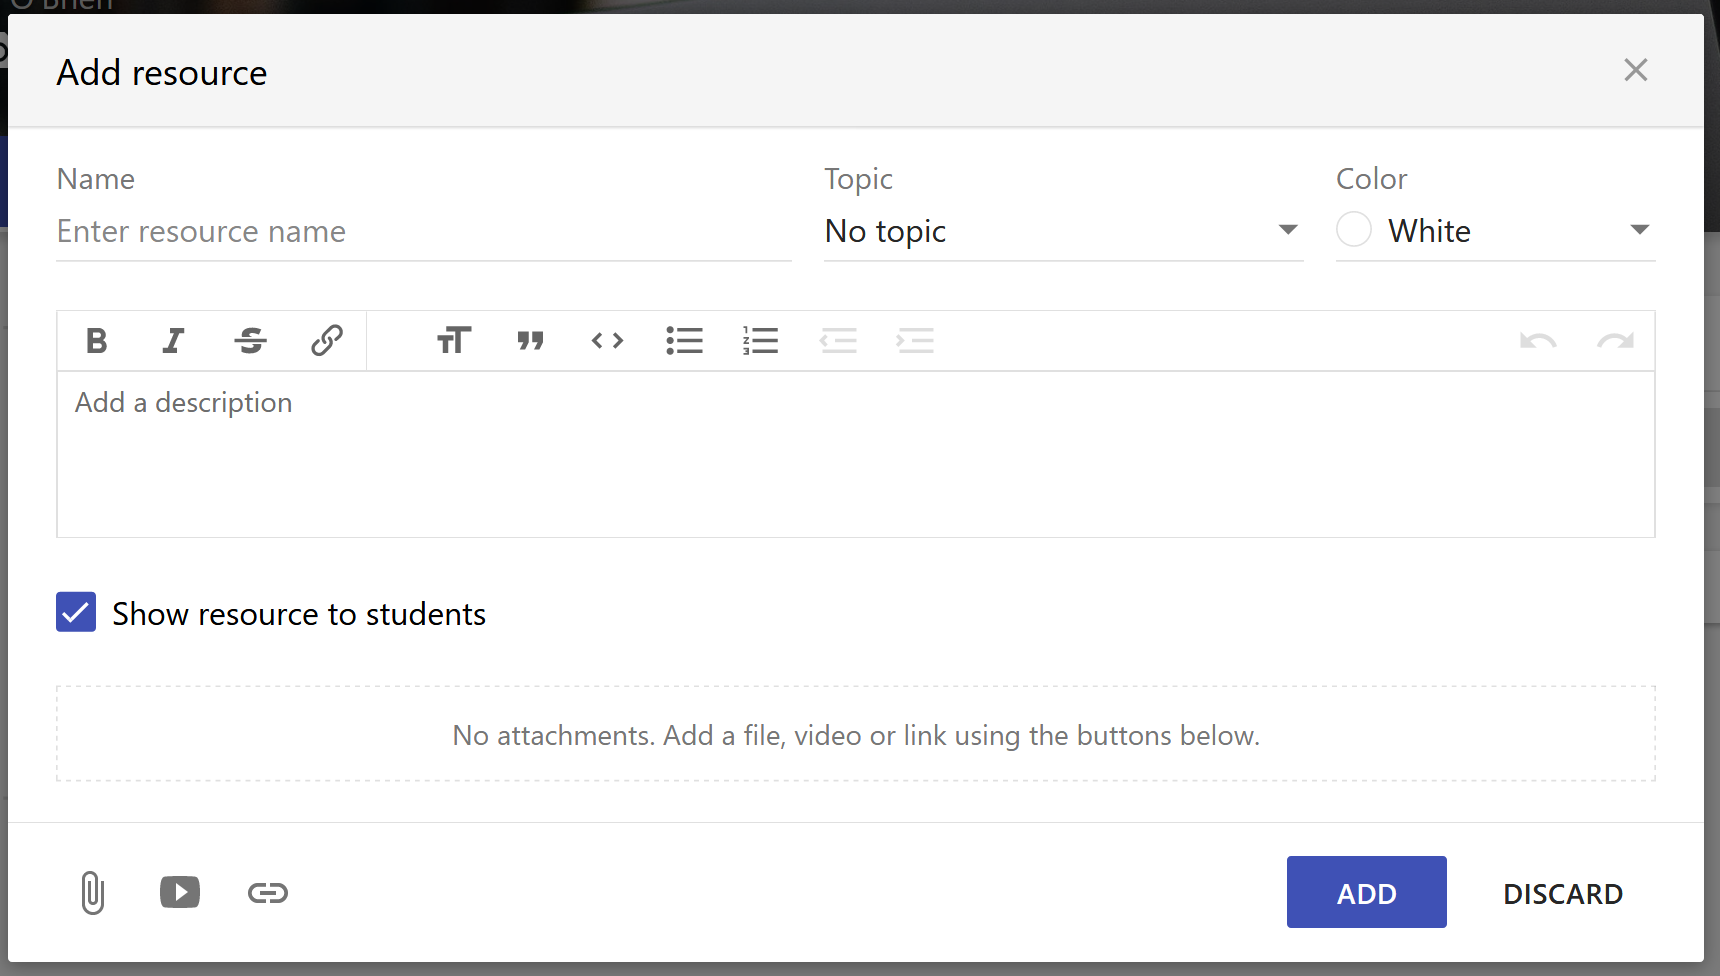
If you don’t wish for your students to see this resource immediately, untick the Show resource to students checkbox and the resource will be hidden from students.
Follow the instructions below if you wish to add any files, links, or videos to the resource.
Click Add to add the resource.
Select the Attach file button at the bottom left of the Add resource window.
Click the Select a file button below the preview.
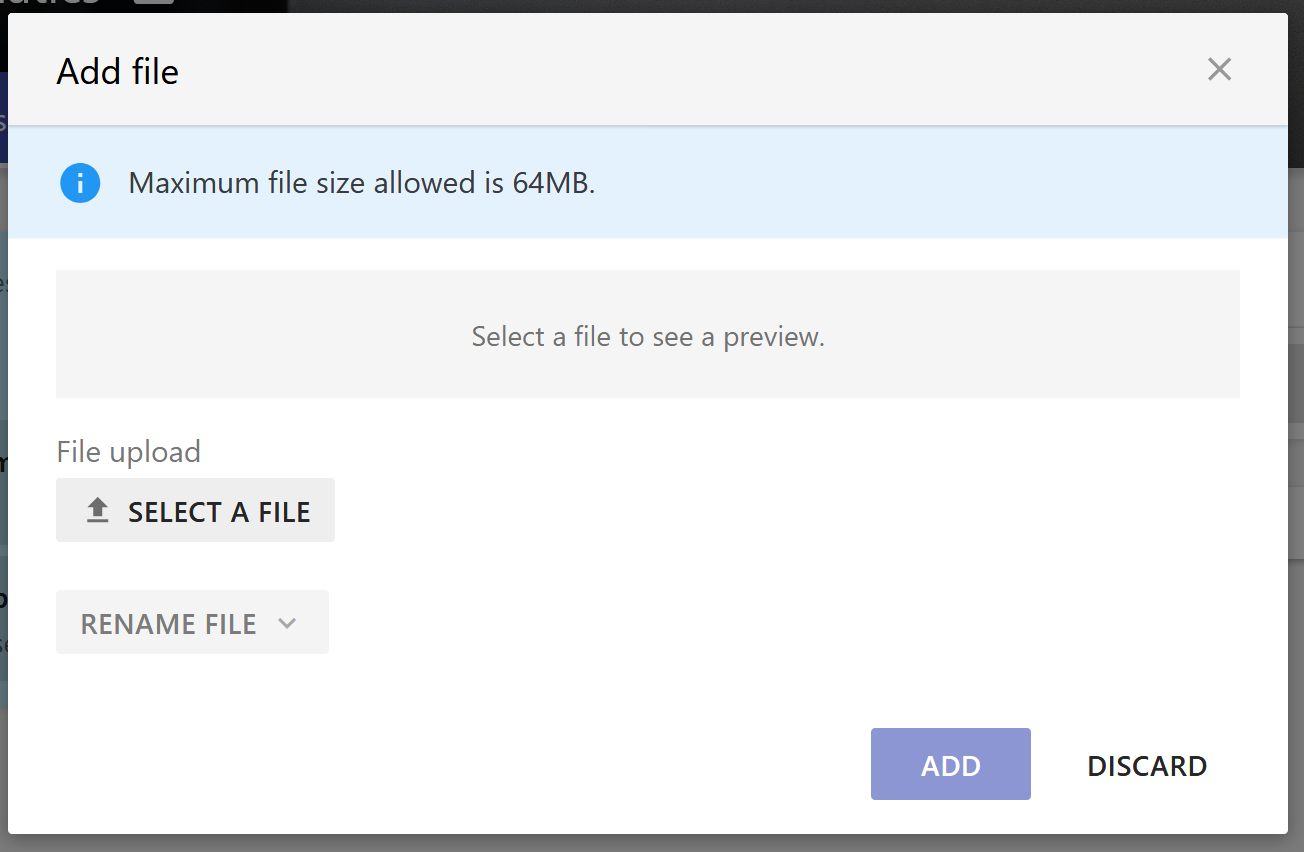
Browse your computer and select the file you wish to add.
Note: The maximum file size that is can be added is 64MB.
Click Add and your file will be added.
Click the Add video or Add link button at the bottom left of the Add resource window.
Enter the URL of the link or video you wish add, in the text box below the preview.
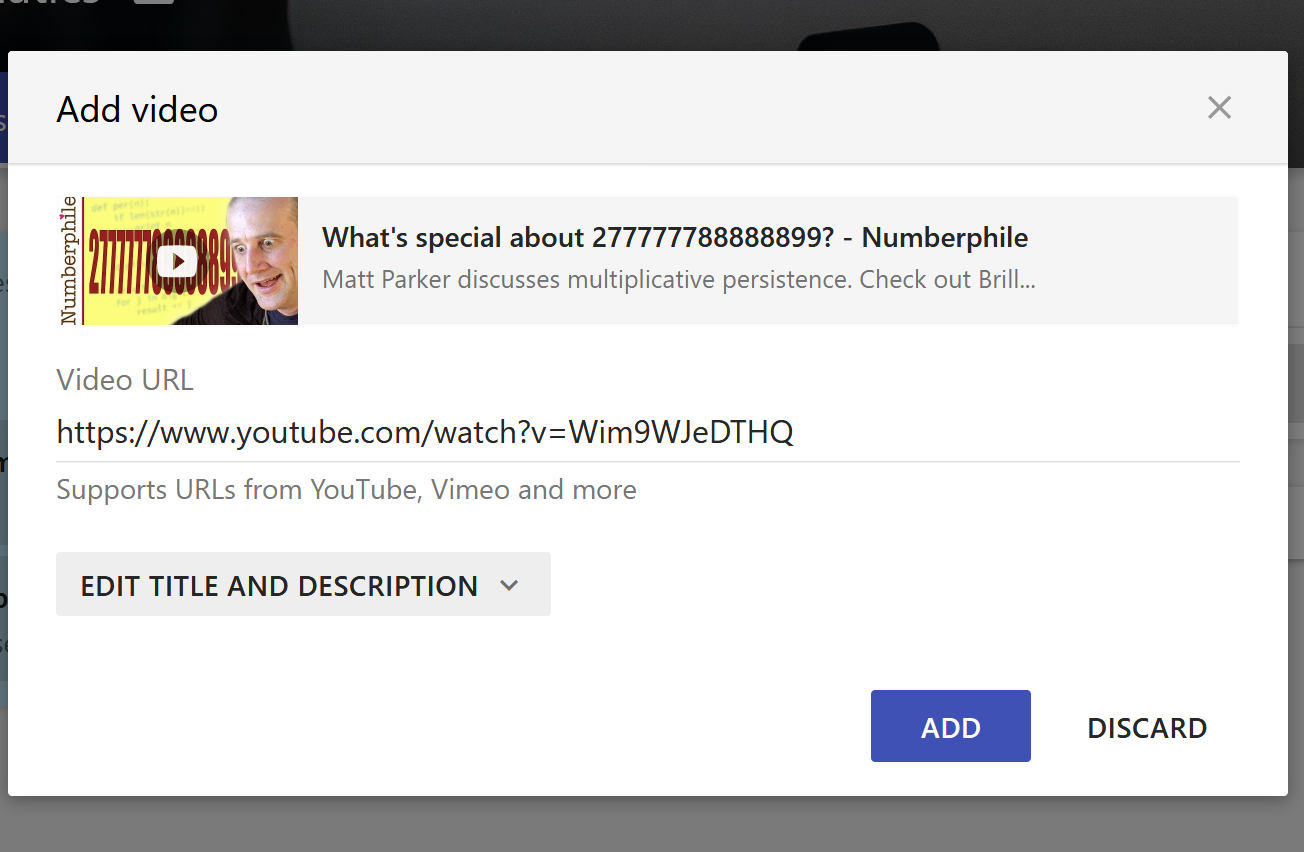
Click Add and your link or video will be added.
